To view live demonstrations of icon block, kindly visit on the provided link. Icon Block
Introduction #
Gutenify provides you the best multiple icon features to add on the suitable places such as in the button or to highlight any text.
How to add the Icon block? #
So, to add the icon block into your website just go to WordPress dashboard menu → Posts → Add New.

Note: Select the post or pages ( Or Any post type) where you want to add icon block.
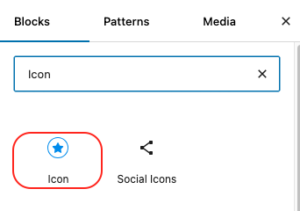
Now, find it with the name in the search option and click on it.
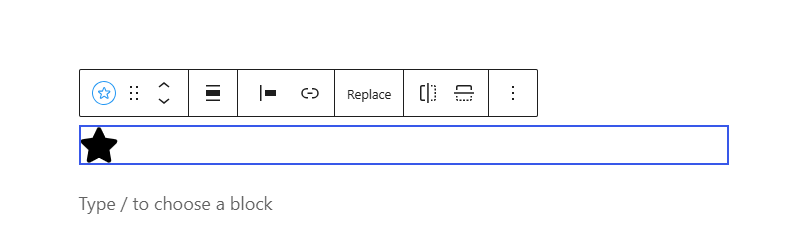
It will appear in the editor with a default icon selected.
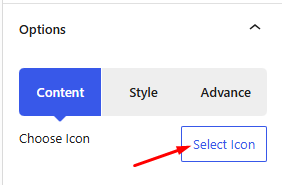
To change it, navigate to the Choose Icon settings. Click on “Select Icon” button.
There, you’ll find a wide selection of icons from Font Awesome and Line Icons. In addition, Gutenify allows you to upload your own custom icon by pasting SVG code, giving you full creative flexibility.
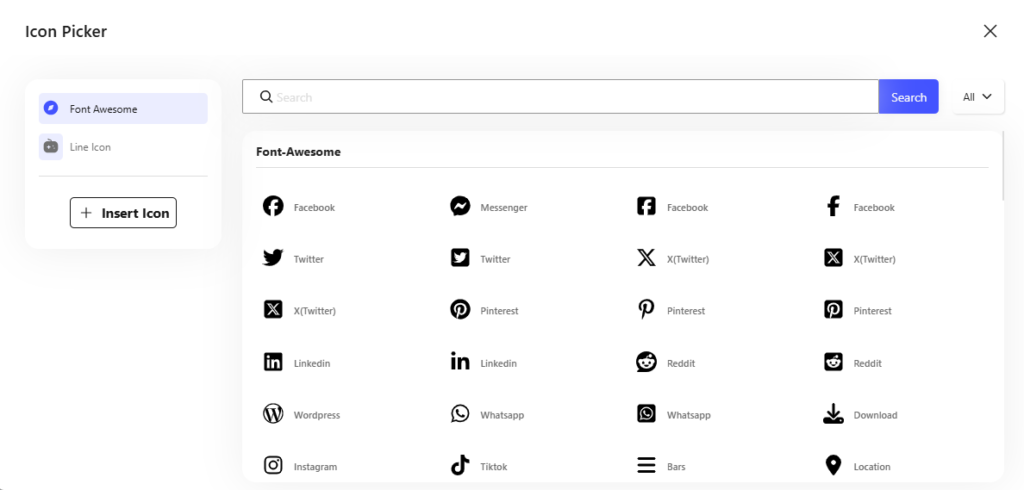
Select your preffered icon.
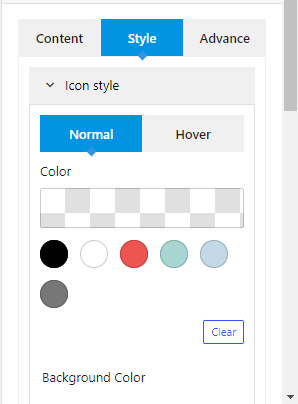
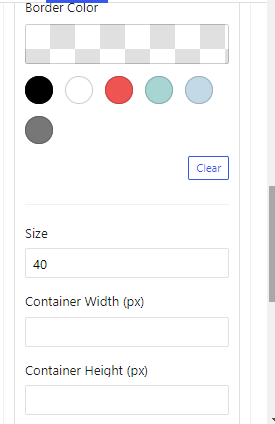
Style Tab #
Next in the style, you can options to change the background color, border color, size, container width, height, radius, etc.
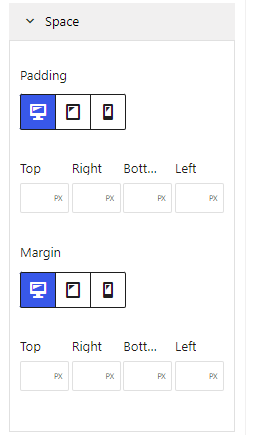
Advance Tab #
In the advance tab, to give your widgets some extra room, Gutenify offers responsive choices for margin and padding. As an illustration, if you specify padding for an element, it may appear great on a desktop but will be excessively large on smaller devices. For each of your widgets in gutenify, you can set a separate padding and margin value.
When you’re satisfied with your icons, click “Publish”. Simply repeat the same procedure to add more icons.