To view live demonstrations of testimonials block, kindly visit on the provided link. Testimonials Demo
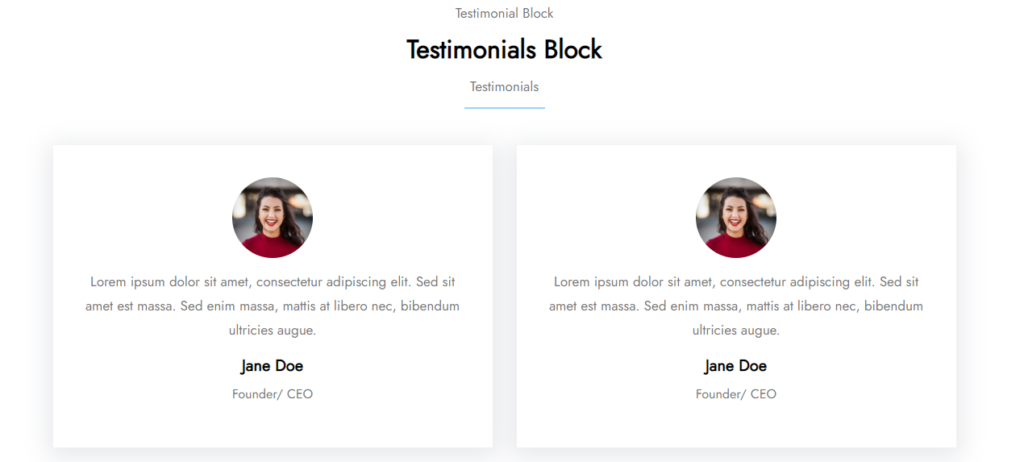
The Testimonial section, as the name implies, to highlight the worthwhile remarks of your clients to new potential visitors. It’s usually preferable to arrange things neatly.
How to add the testimonial block? #
So, to add the testimonial block into your website just go to WordPress dashboard menu → Posts → Add New.
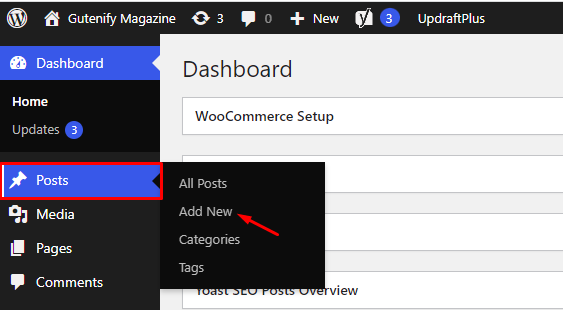
Note: Select the post or pages where you want to add testimonial block.
Now, find it with the name in the search option and click on it.
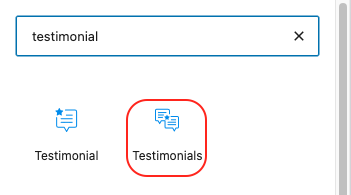
Note: Adding Testimonial will only add single block of testimonials.
After this you would be able to see it.
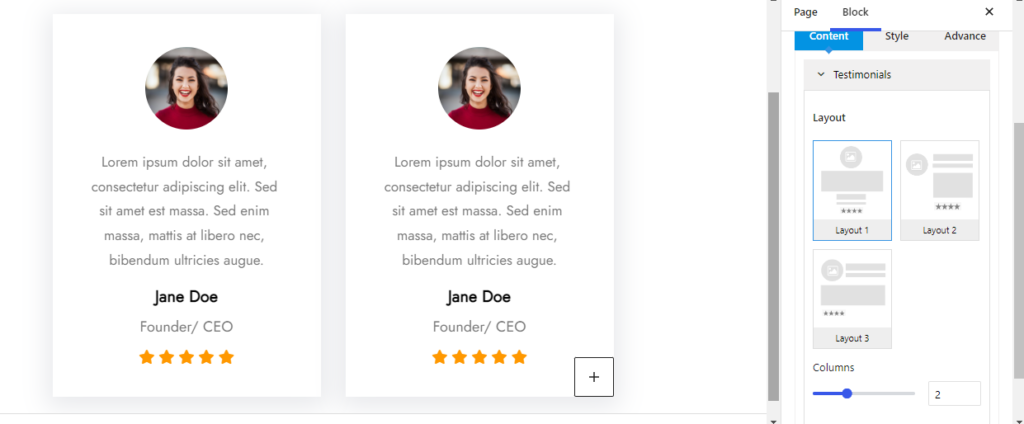
To edit the testimonial block, you have three tabs:
- Content
- Style
- Advance
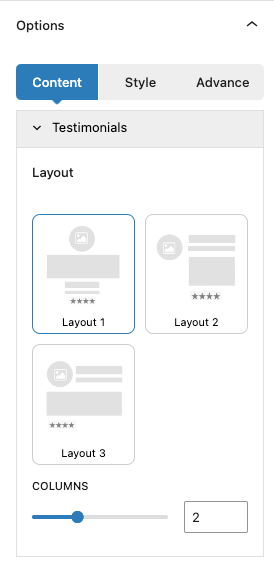
Content Tab #
In the content tab, you can increase the number of columns also there are multiple layouts that you can add according to your choice.
Note: Pro users will have access to additional layout options.
Style Tab #
In the Style tab, you can enhance the appearance of your block by adding colors to text, background, and gradients, as well as adjusting the border radius and width. These customization options help make your block visually appealing.

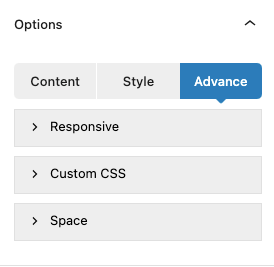
Advance Tab #
In the advance tab, to give your widgets some extra room, Gutenify offers responsive choices for margin and padding. As an illustration, if you specify padding for an element, it may appear great on a desktop but will be excessively large on smaller devices. For each of your widgets in gutenify, you can set a separate padding and margin value.
When you’re satisfied with yourtestimonial block, click “Publish”. Simply repeat the same procedure to add more testimonials into your posts or pages.