To view live demonstrations of buttons block, kindly visit on the provided link. Buttons
When you wish to link various website parts or make a file downloadable, a button element comes in quite handy. Users can interact with the interface by pressing buttons, which provide information about the possible actions.
How to add the buttons? #
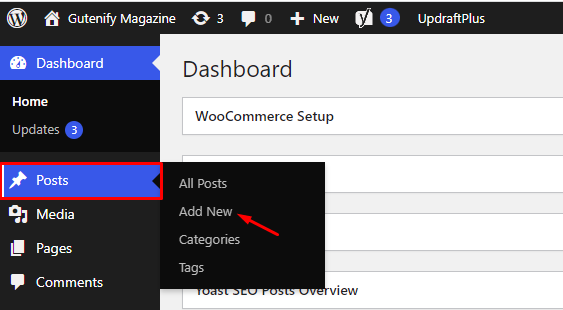
So, to add the button block into your website just go to WordPress dashboard menu → Posts → Add New.
Note: Select the post or pages ( Or Any post type) where you want to add button block.
Now, search “Buttons” in the search bar. You will see Buttons block, you can click on it.

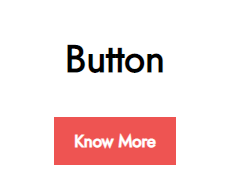
Now, You’ll see that default button has placeholder text, including button color and text.
Button icon
To add the icon with the button text you have option to choose icon suits your needs.
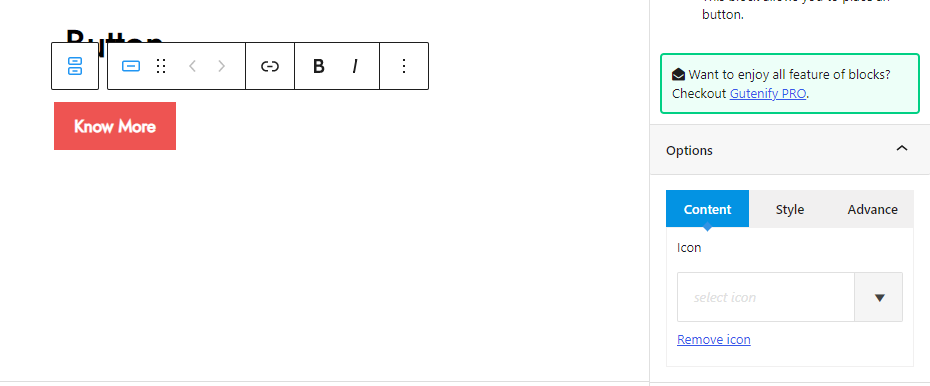
You can see as after typing some relevant text on button i’ve added the icon.
Now after applying the border width and border radius.
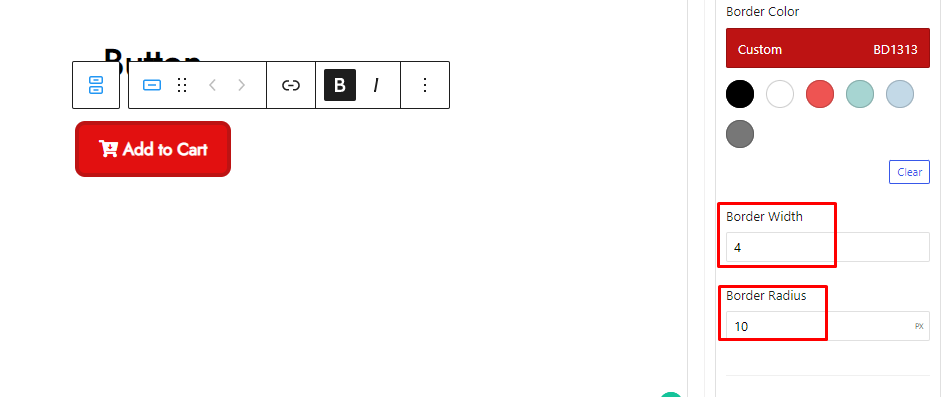
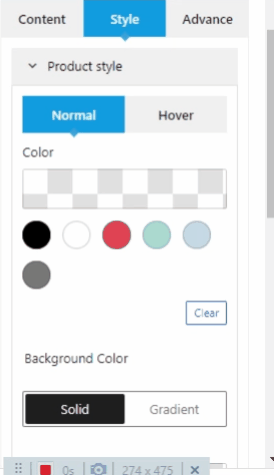
Style Tab #
In the style tab, you can add background color, gradient color, border radius, border width, etc.
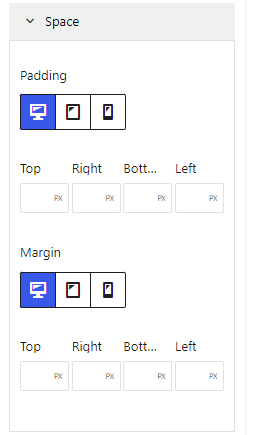
Advance Tab #
In the advance tab, to give your widgets some extra room, Gutenify offers responsive choices for margin and padding. As an illustration, if you specify padding for an element, it may appear great on a desktop but will be excessively large on smaller devices. For each of your widgets in gutenify, you can set a separate padding and margin value.
When you’re satisfied with your buttons, click “Publish”. Simply repeat the same procedure to add more buttons into your posts or pages.
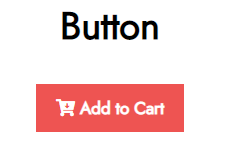
Now After applying all the above features you can design multiple types of buttons.


