To view live demonstrations of post carousel block, kindly visit on the provided link. Post Carousel Demo
The Post Carousel Module presents a list of posts in a carousel-style slider, each of which is represented by its featured image. It has a wide range of applications. Authors and writers, for example, could use it to highlight their most recent publications on landing pages.
How to Add Post Carousel? #
So, to add the post carousel block into your website just go to WordPress dashboard menu → Posts → Add New.
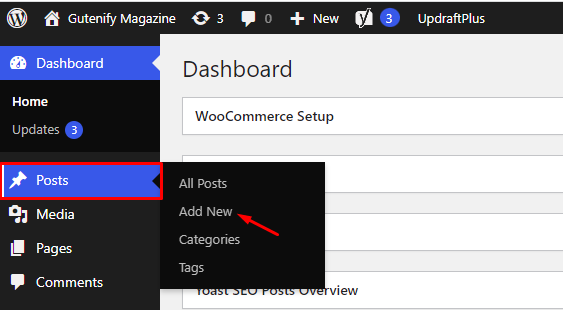
Note: Select the post or pages where you want to add post carousel block.
Now, if you have created any posts on your website, you’ll notice that the section will display placeholder material such as title, author name, date, and other information accordingly.
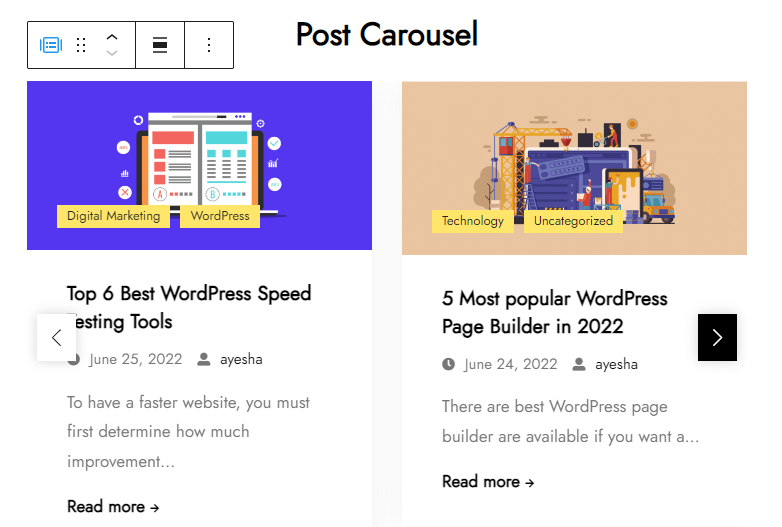
You can change the posts that you want to display on post carousel according to order, date or categories that suit your needs.
To edit the post carousel you have three options that are given in right sidebar:
- Content
- Style
- Advance
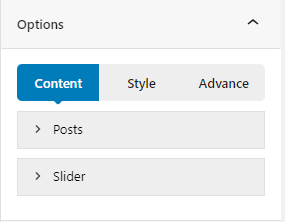
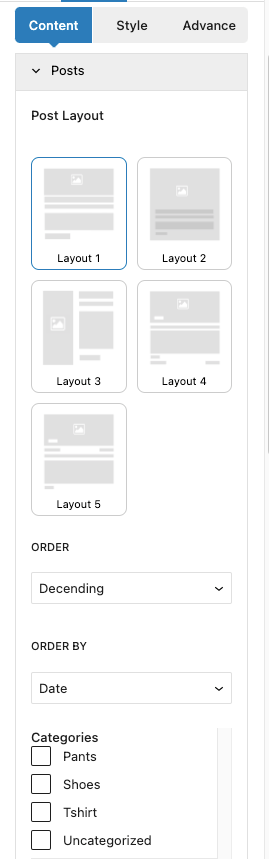
Posts #
In the posts section, you can see there are 5 post layouts to pick from according to your own choice.Next you can set the post by ascending or descending order with the date and particular categories. There is an option to increase the number of post you want to add in a carousel.
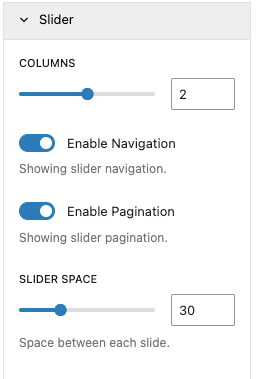
Slider #
In the slider section, you can see there columns option to choose the number of post in a screen. also, you can enable or disable navigation and pagination and slider space to provide space between the posts in slider.
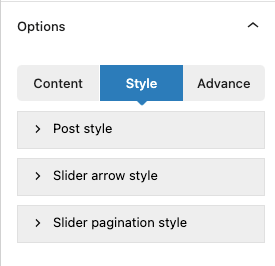
Post Style #
In post style, you can add background color, gradient color, border radius, border width, etc.

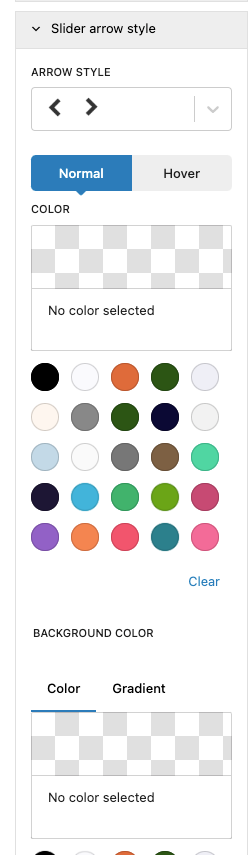
Slider Arrow Style #
In the slider arrow style settings, you can select from various types of arrows available, and customize their colors, background color, border width, border color, and more.
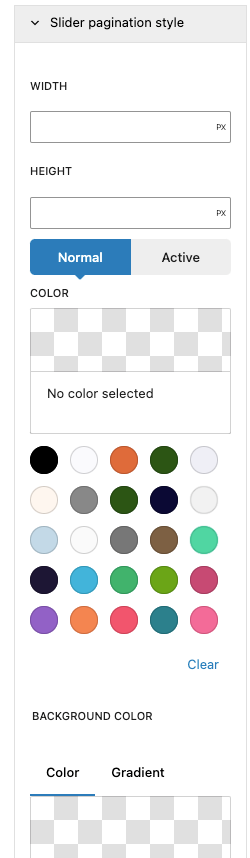
Slider Pagination Style #
In the slider pagination style settings, you can adjust parameters such as width, height, color, background color, border, and more to customize its appearance.
Advance Tab #
In the advance tab, to give your widgets some extra room, Gutenify offers responsive choices for margin and padding. As an illustration, if you specify padding for an element, it may appear great on a desktop but will be excessively large on smaller devices. For each of your widgets in gutenify, you can set a separate padding and margin value. Additionally, it offers custom CSS for enhanced website design.
Learn more Here
When you’re satisfied with your post carousel block, click “Publish”. Simply repeat the same procedure to add more blocks into your posts or pages.
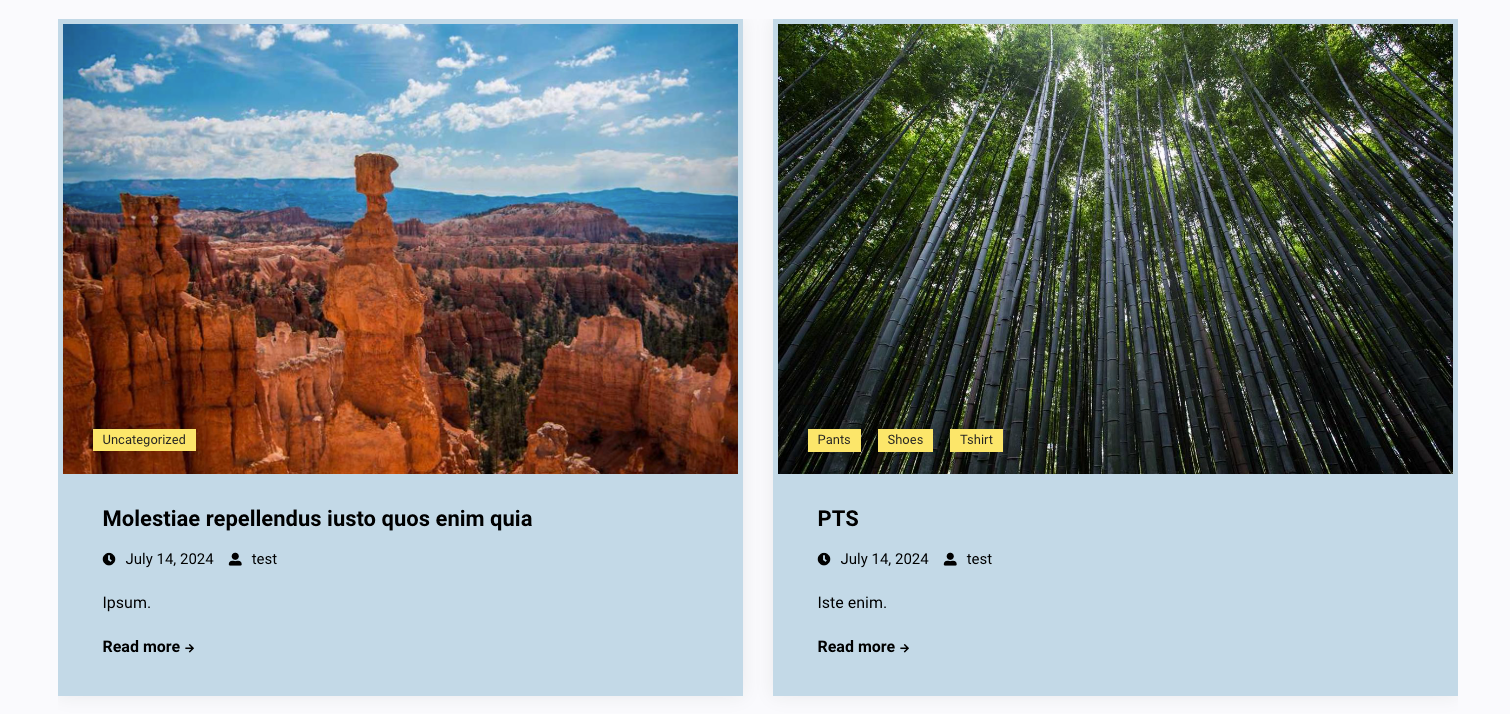
Output after editing #