To view live demonstrations of post list block, kindly visit on the provided link. Post List Demo
Introduction #
Keep your information organized in a list if you need to present numerous blog posts or other items on one page. Users will find the stuff they need by using an attractive list of several posts.
How to add the post list block? #
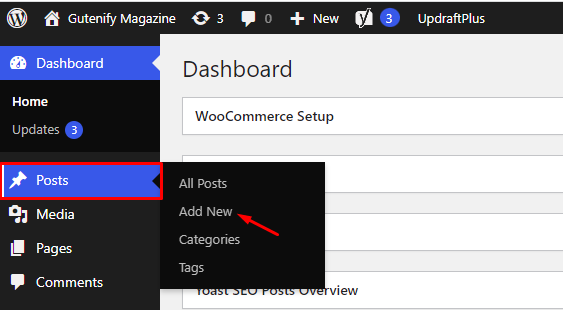
So, to add the post list block into your website just go to the WordPress dashboard menu → Posts → Add New.
Note: Select the post or pages where you want to add post list block.
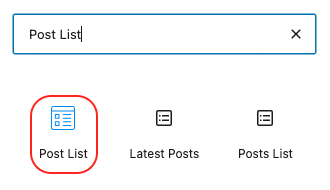
Now, find it with the name in the search option and click on it to add.
After adding the post list, now you have the option to edit post list in the right sidebar.
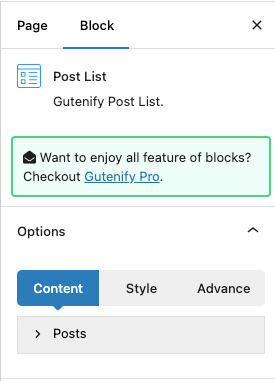
Content Tab #
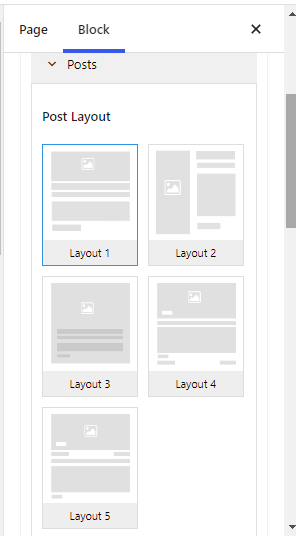
In the content option, you have multiple layouts to apply.
Then you have multiple categories and date to arrange your post in decending or accending order.

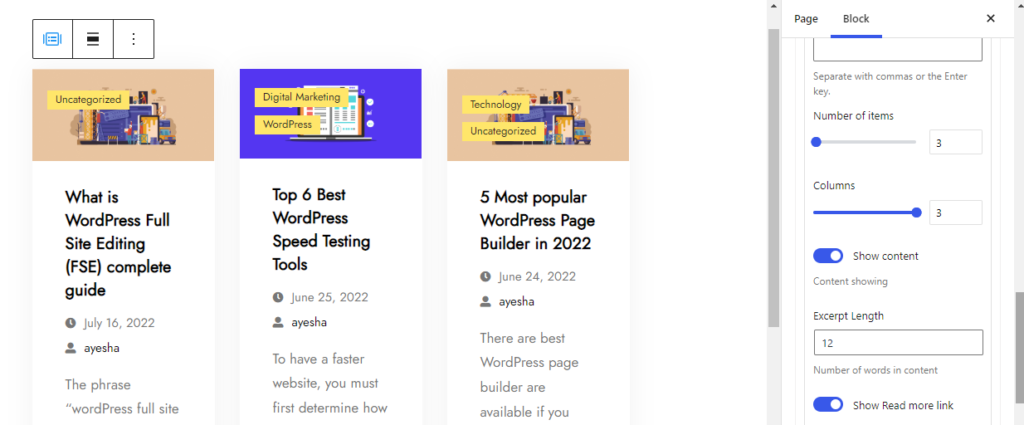
Next, we have the number of items/post, columns, and show read more link..
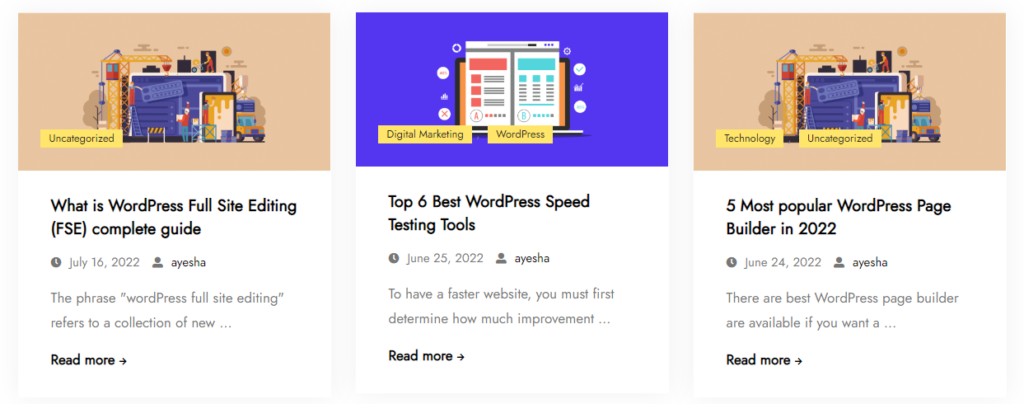
As you can see below in the image i applied 3 cloumns, with 3 posts to show.
Style Tab #
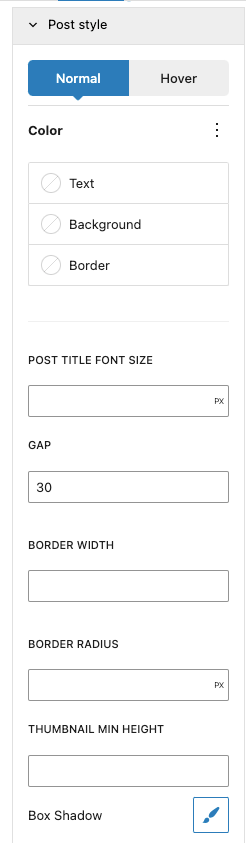
Next, in the style tab, you will find options to customize colors, typography, border width, gaps between posts, thumbnail height, and the ability to add padding based on screen size.
Advance Tab #
In the ‘Advanced’ tab, Gutenify provides responsive options for giving your widgets extra space and the ability to hide content on smaller devices. Additionally, it offers custom CSS for enhanced website design.
Learn more Here
When you’re satisfied with your post list block, click “Publish”. Simply repeat the same procedure to add more post list block into your posts or pages.
Output after editing: #