In this documentation will walk you through the typewriter block in Gutenify,
First, head over to your WordPress dashboard.
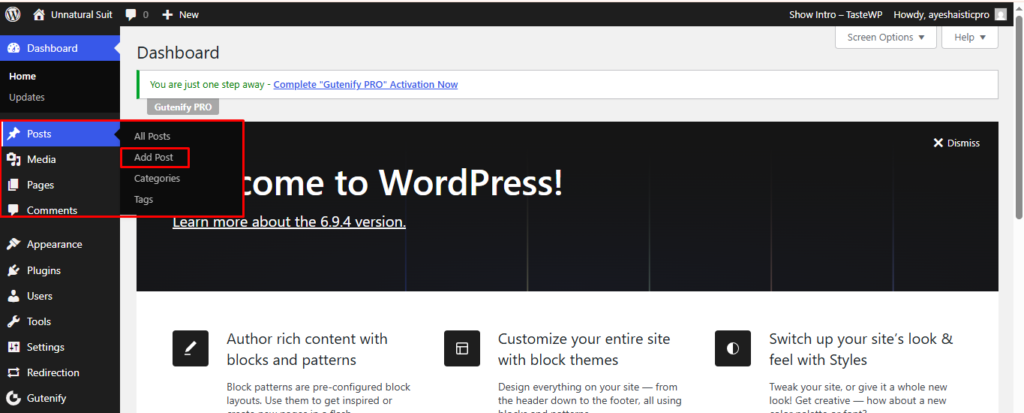
From the left-hand menu, select the post or pages ( Or Any post type) where you want to add a typewriter block.
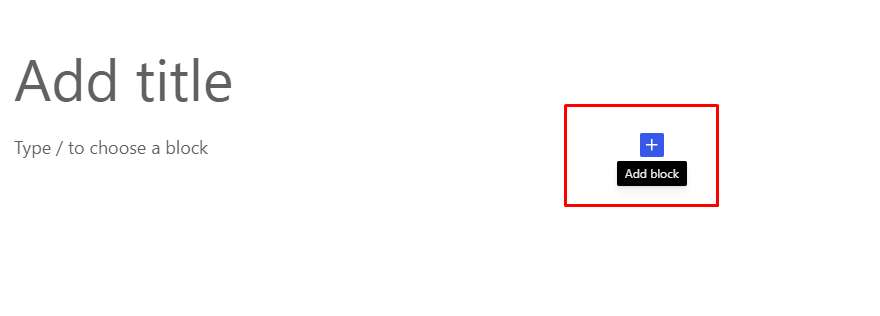
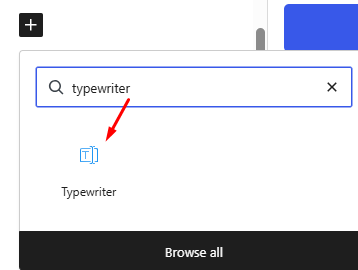
Inside the block editor, click the “+” (Add Block) icon. In the search field, type typewriter.
When the typewriter block appears in the results, select to insert this into your content.
Once added, the typewriter will type the bydefault content in the editor. You can edit or change the prefix and suffix text according to your content prefrences.
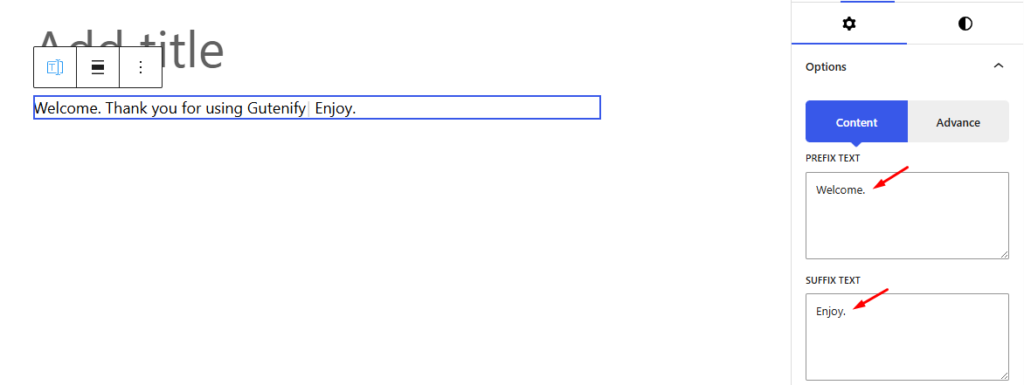
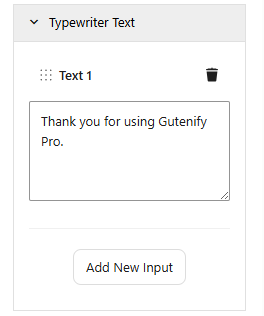
After that to set the typewriter text click on the add new input and delete the existing one by clicking on bin icon button.
Typewriter Setting #
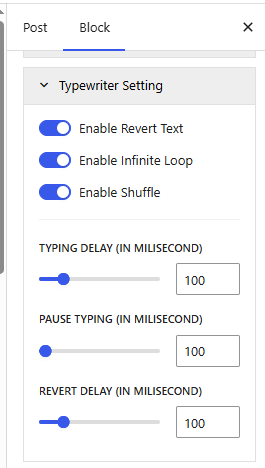
The Typewriter Setting panel controls how the typing animation behaves.
Enable Reverse Text #
The Enable Reverse Text option allows the typed text to be deleted character by character after it finishes typing.
When this option is enabled:
- The text is typed normally.
- After reaching the final word, the animation starts removing characters one by one.
- This creates a dynamic typing and deleting effect.
This feature is commonly used when displaying multiple rotating phrases.
Enable Infinite Loop #
The Enable Infinite Loop option allows the typing animation to repeat continuously.
When enabled:
- The animation will restart automatically after finishing.
- If reverse typing is also enabled, the text will type → delete → type again continuously.
This option is useful when you want a continuous animated headline on your homepage or hero section.
If disabled, the typing animation will play only once.
Enable Shuffle #
The Enable Shuffle option randomly changes the order of the text phrases if multiple lines of text are used.
Instead of displaying phrases in a fixed order, the system will shuffle them randomly each time the animation runs.
This creates a more dynamic and less predictable text animation, which can help keep the page visually interesting.
Typing Delay (in Milliseconds) #
The Typing Delay setting controls the speed at which characters appear during the typing animation.
The value is measured in milliseconds.
Example values:
- 50 ms → Very fast typing
- 100 ms → Normal typing speed
- 200 ms or more → Slower typing animation
If you set the delay to 100 milliseconds, each character will appear after a 0.1 second interval.
This allows you to control the natural feel of the typing effect.
Pause Typing (in Milliseconds) #
The Pause Typing setting defines how long the animation waits after completing a sentence before continuing.
This pause occurs before:
- The text starts deleting (if reverse text is enabled)
- The next text animation begins
Example:
If pause typing is set to 1000 ms, the system will wait 1 second before continuing the animation.
This pause helps improve readability by giving visitors time to read the full text.
Reverse Delay (in Milliseconds) #
The Reverse Delay option controls the speed of the text deletion animation when reverse typing is enabled.
This determines how quickly characters are removed from the text.
Example:
- 50 ms → Fast deletion
- 100 ms → Normal deletion speed
- 200 ms → Slower deletion animation
If the reverse delay is 100 milliseconds, each character will be removed every 0.1 seconds.
This helps maintain a smooth transition between phrases.
Cursor Setting #
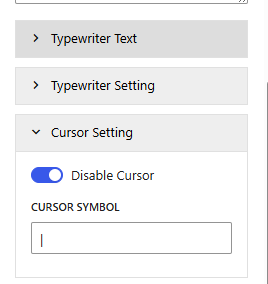
The Cursor Setting section controls the appearance and behavior of the typing cursor.
Disable Cursor #
The Disable Cursor option allows you to hide the blinking cursor that appears during the typing animation.
When enabled:
- The cursor will not appear next to the animated text.
When disabled:
- A blinking cursor will be visible, similar to a text editor typing indicator.
The cursor helps enhance the realistic typewriter effect, but some designs may prefer a cleaner look without it.
Cursor Symbol #
The Cursor Symbol field allows you to customize the character used as the cursor.
Common cursor symbols include:
|_█>
Example display:
Welcome to our website |
Changing the cursor symbol allows you to match the typing animation with your website’s design style.
In the advance tab, you can set the responsiveness, you can either hide on desktop, mobile or disable this if you don’t want. In the custom css option you can code if you want some function extra as this is for developers. After that in the space you can set margin padding from each angle.
Once you’ve completed all your configurations, click Publish or Save to apply the changes.
If you need any help or run into any issues feel free to reach out to Gutenify’s support team.


