In this documentation will walk you through the Notice Bar block in Gutenify,
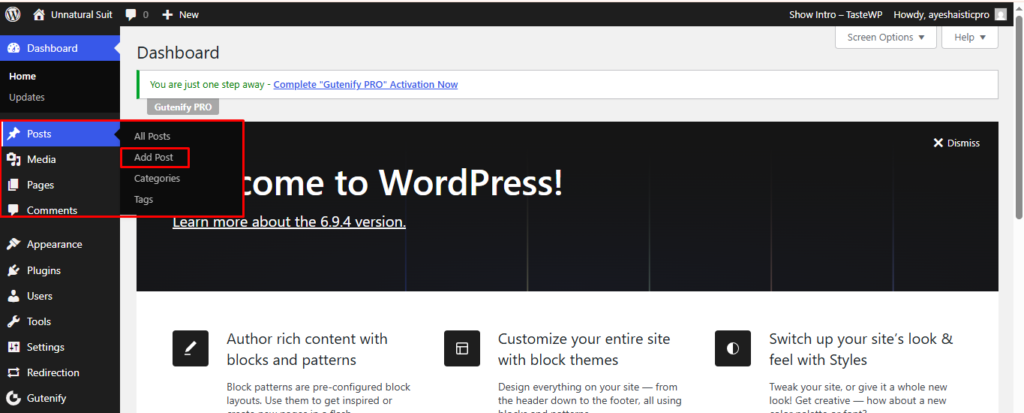
First, head over to your WordPress dashboard.
From the left-hand menu, select the post or pages ( Or Any post type) where you want to add a Notice Bar block.
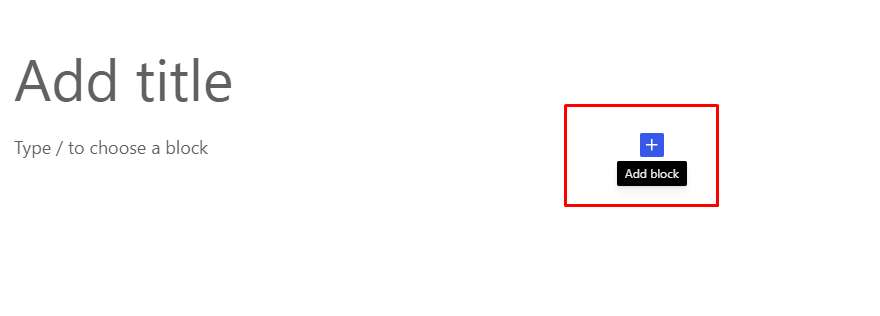
Inside the block editor, click the “+” (Add Block) icon.
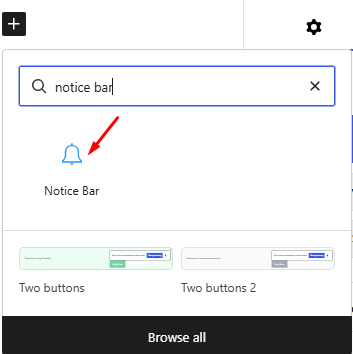
In the search field, type Notice Bar.When the Notice Bar block appears in the results, select to insert this into your content.
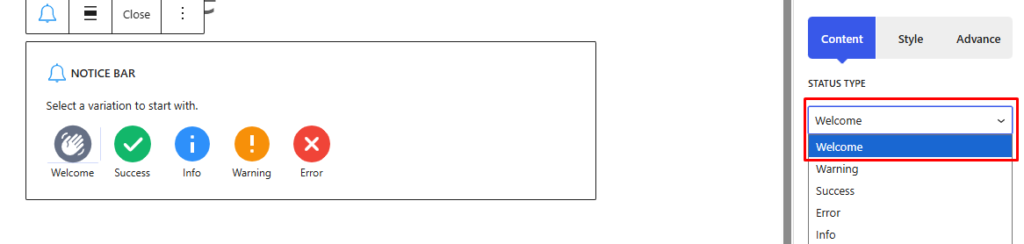
Once added, the notice bar block provides five main configuration options.
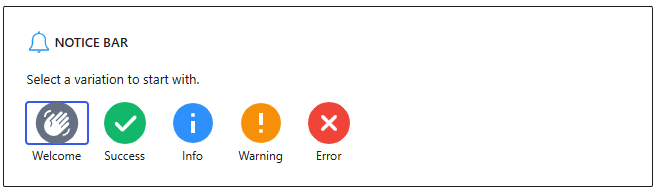
To begin, select the Welcome variation under the Content tab. By default, the block is set to this type.
You can enable the Show Close Button option to display a close icon at the top-right corner of the notice bar.
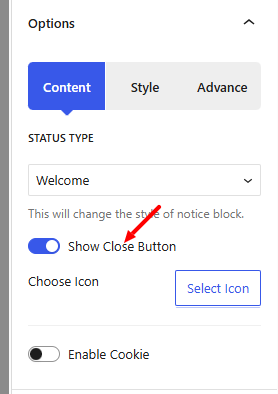
To customize the icon, click Choose Icon and type “close” in the search field.
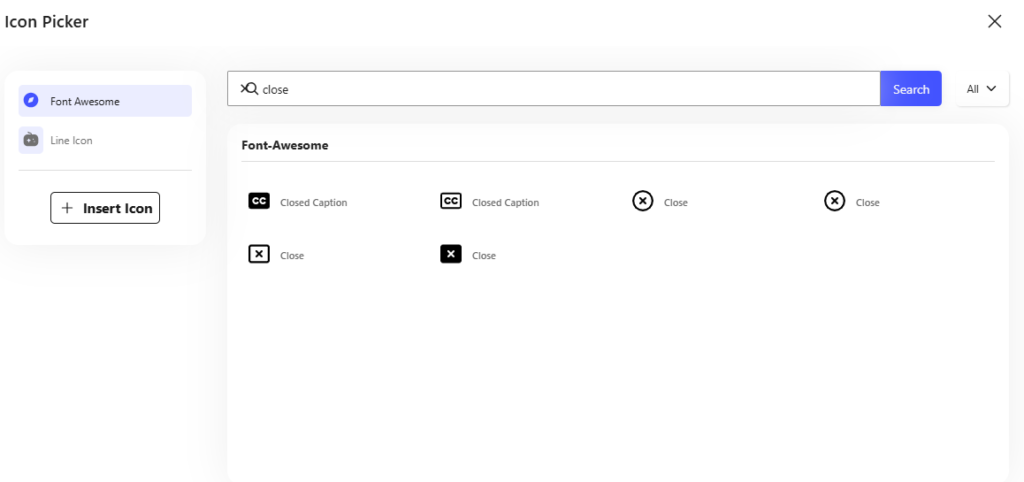
This will present multiple close icon options, allowing you to pick one that fits your design.
Additionally, you can enable Cookies and define the Cookie Time in seconds to control how long the notice bar remains hidden after being closed by a user.

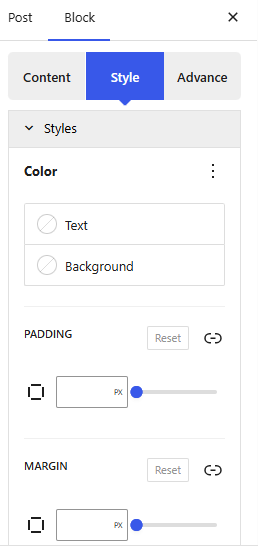
The Style tab allows you to fine-tune the appearance of the notice bar. Here, you can adjust the font color, background color, margins, padding, borders, and border radius.
The Close Button section within the style tab offers additional customization, including the button’s color, background color, border color, position, size, gap, border width, and border radius.
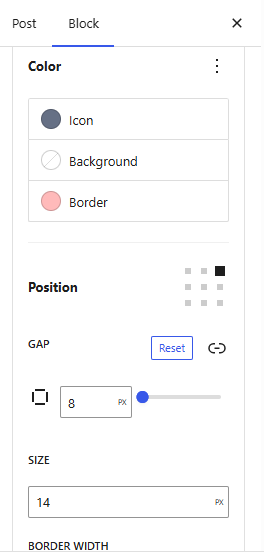
You can choose where the close button appears, typically the top-right, but other positions are available depending on your design preference.
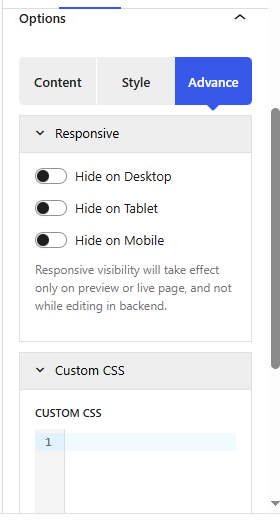
In the advance tab, you can set the responsiveness, you can either hide on desktop, mobile or disable this if you don’t want. In the custom css option you can code if you want some function extra as this is for developers. After that in the space you can set margin padding from each angle.
Once you’ve completed all your configurations, click Publish or Save to apply the changes.
If you need any help or run into any issues feel free to reach out to Gutenify’s support team.


