To view live demonstrations of grid block, kindly visit on the provided link. Grid Demo
Introduction #
You can insert content blocks in a grid arrangement with the help of the Grid Block. It is ideal for showcasing your blog, portfolio, online store, or any other form of WordPress post type.
How to add the Grid Block? #
So, to add the grid block to your website just go to the WordPress dashboard menu → Posts → Add New.

Note: Select the post or pages where you want to add a grid block.
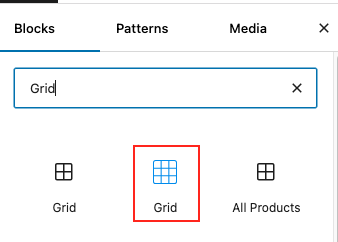
Now, find it with the name in the search option and click on it.
Content #
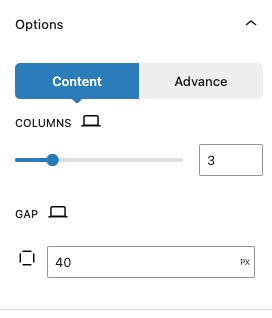
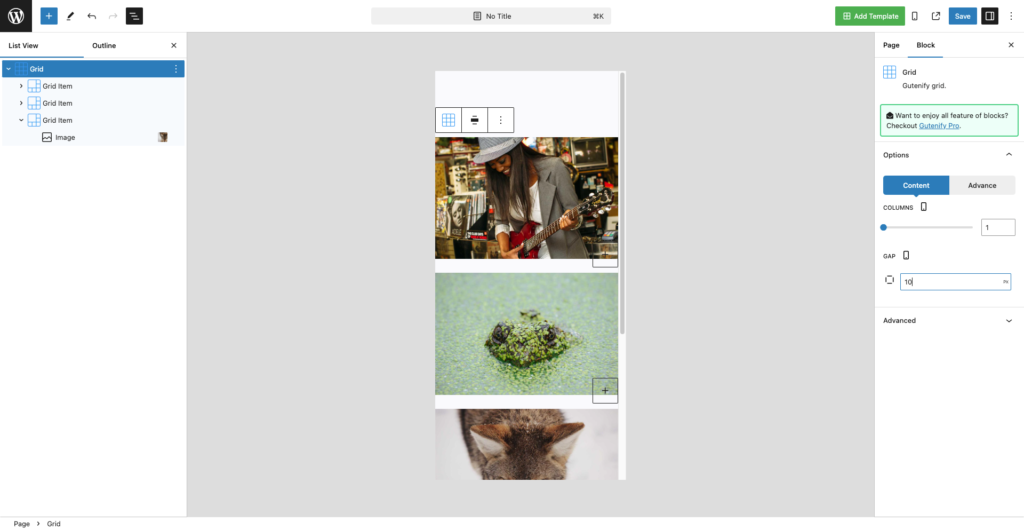
In content tab, you can find option to increase columns and gaps between the grid items according to your requirement.
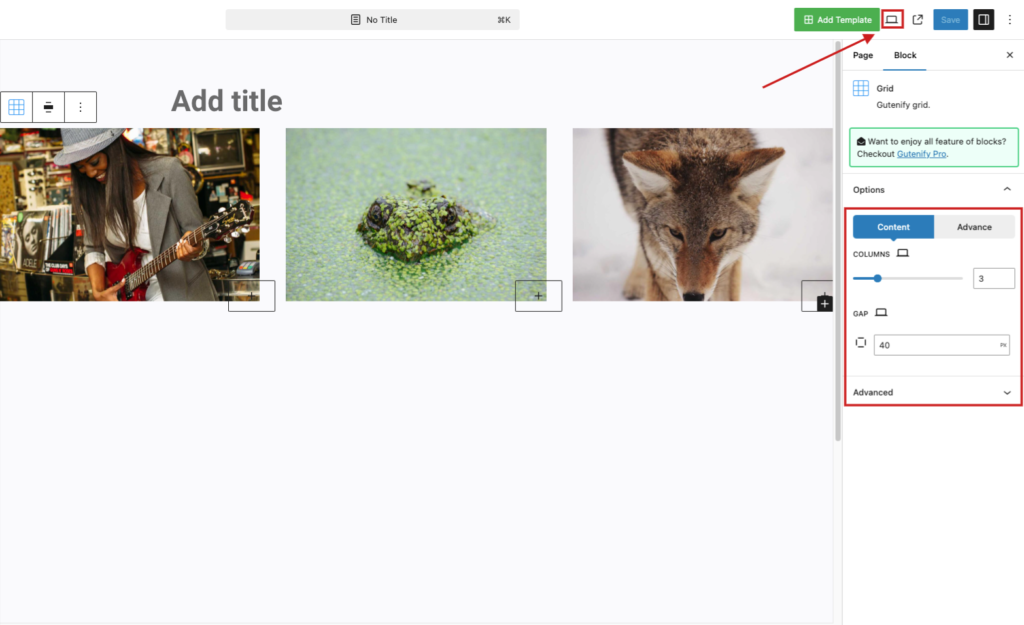
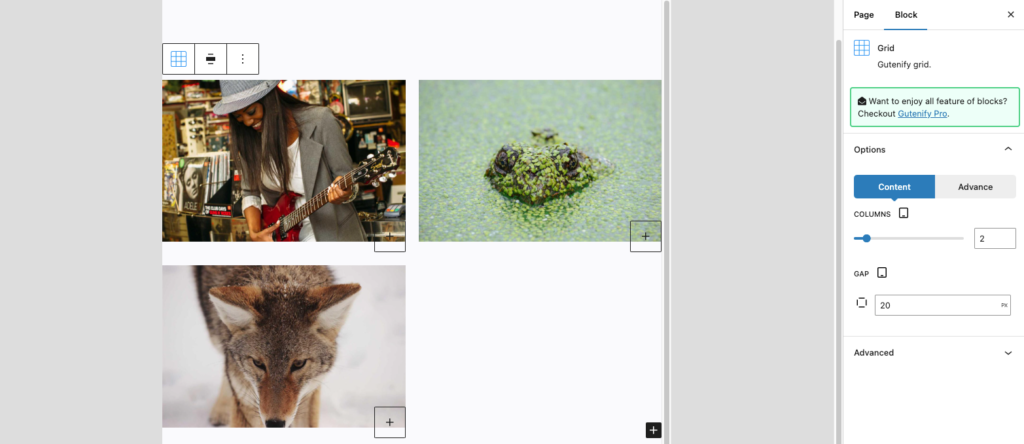
You will also change number of columns and gap between grid item according to different screen size (Desktop, Tablet, Mobile).
Advance Tab #
In the ‘Advanced’ tab, Gutenify provides responsive options for giving your widgets extra space and the ability to hide content on smaller devices. Additionally, it offers custom CSS for enhanced website design.
Learn more Here
When you’re satisfied with your Grid block, click “Publish”. Simply repeat the same procedure to add more blocks to your posts or pages.
Output after editing Grid block. #


